How to localize Shopify product images when theme translation does not cover them
Separate Shopify theme copy from text inside product images, then export, translate, review, organize, upload, and verify each market version.
Written by
ThumbTranslator Team
Practical guidance for translating thumbnail and product-image text while protecting meaning, layout, and review quality.
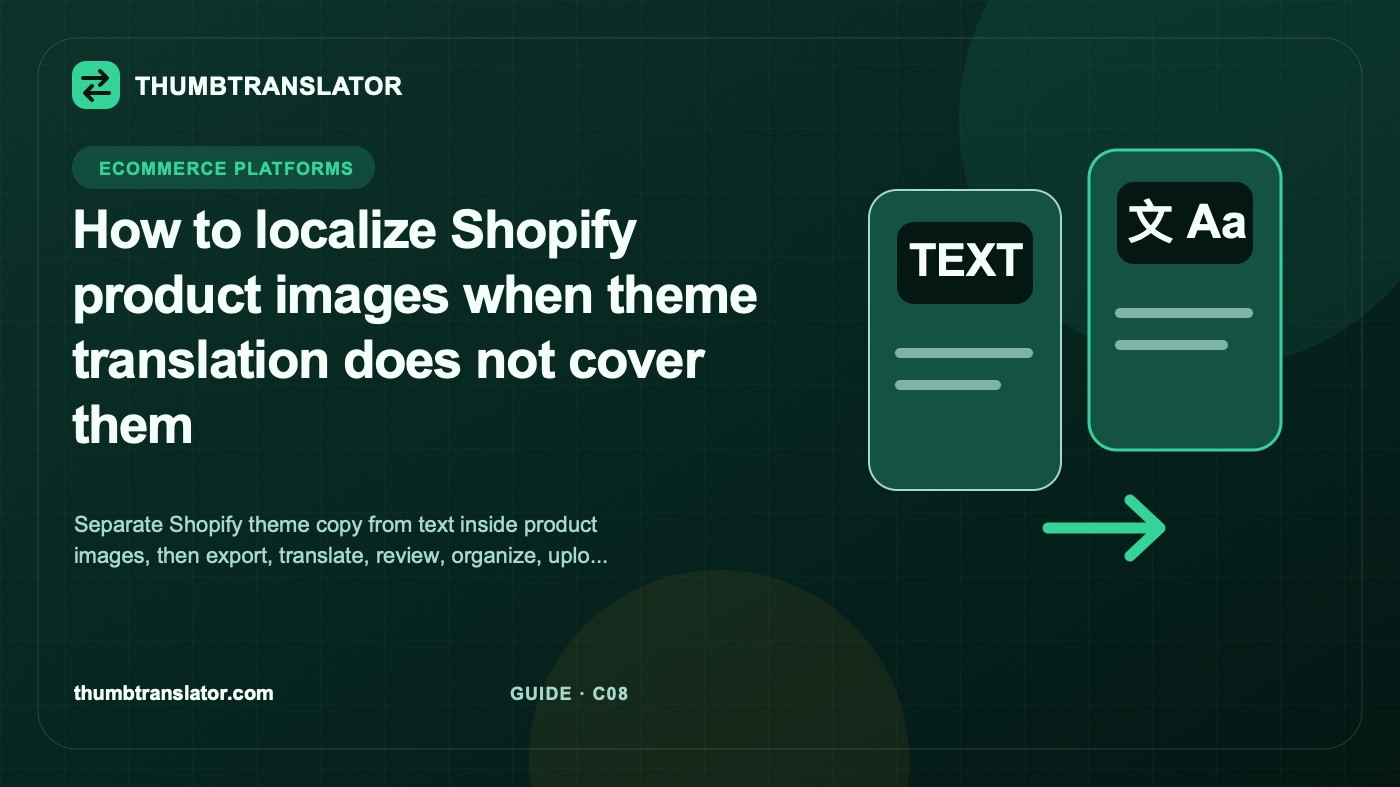
When translated storefront copy does not change words baked into a product image, treat the image as a separate asset. Export or recover the original, create one reviewed language version, map it to the intended product and market, upload it manually, and inspect the storefront result.
Store and theme behavior can differ. Confirm what your own storefront does and consult current official Shopify documentation before making a production change.
Separate theme text from image text
First, identify where each visible word lives. Some text may be editable in a store field, section, or theme setting. Other text may be part of the pixels in a JPG, PNG, or WebP file. Changing an editable string and editing an image are different jobs, even when they appear next to each other on the storefront.
Open the page in every market view that your team maintains. Record each text element and classify it as editable storefront copy, embedded image text, or unknown. If the location is unclear, do not guess. Ask the person who maintains the theme or inspect the source configuration through your approved process.
For embedded text, record the product reference, image position, source filename, intended market, and current visible URL or asset reference. Take a screenshot so the team can compare the page after the manual change. This inventory keeps the project focused on files that actually need image work.
Export the source media
Recover the best original for each text-bearing image. An editable design file is preferable when your team owns one, but an untouched high-quality export can serve as the rollback source. Never overwrite the only copy.
Create a media map with one row per image. Useful columns include an internal asset ID, product reference, source language, target market, original filename, working filename, final filename, copy owner, language reviewer, design reviewer, and status. Record the page or product where the image is expected to appear, but verify that destination during upload rather than assuming the map is correct forever.
Use filenames that distinguish source and target versions. A pattern such as
product-asset-market-status can work if it fits your existing conventions.
The exact pattern matters less than consistency. The operator should be able to
tell the market and approval state without opening several nearly identical
files.
Create and review language versions
Work on one image and one market until the workflow has passed review.
- Transcribe every visible text region into the media map or a linked copy sheet.
- Mark names, numbers, sizes, units, offers, and claims that need an approved source of truth.
- Prepare the target-language copy for one named market.
- Ask a fluent reviewer to approve meaning, tone, product facts, and required qualifiers.
- Place the approved words into a duplicate of the image. If a translation tool produces a candidate, treat it as editable output that still needs comparison with the source.
- Review line breaks, font substitutions, spacing, hierarchy, and the product itself.
- Export a new file and attach it to the correct row in the media map.
Do not squeeze a long translation into a small box until it becomes hard to read. Ask whether the source can be shortened without changing the claim. If a name, number, or qualifier would need to be removed, stop and return the copy to the appropriate owner.
Map images to markets
Use the media map to connect each approved export to one product, market, and intended page location. Confirm the destination during the manual upload. A file name or spreadsheet row can narrow the choice, but it cannot prove that the storefront still uses the same media assignment.
Review the final export with the original and the approved copy visible. The most dangerous errors are often small and plausible.
| Risk | Manual check | Stop condition |
|---|---|---|
| Wrong text layer | Compare the live screenshot, source file, and text inventory | The team cannot tell whether another storefront field also needs translation |
| Product-fact drift | Compare names, numbers, sizes, units, offers, and claims with approved data | Any sensitive fact differs or lacks an owner |
| Visual alteration | Compare product shape, color, labels, and background with the source | The edit changes a product or other meaningful detail |
| Market mismatch | Compare filename, product, language, market, and destination | The intended destination is uncertain |
| Legibility failure | Inspect full size and a realistic storefront size | Text clips, blurs, or becomes too small to review |
Run pre-upload QA on the exact file selected for upload. Confirm that the original is preserved, every text region is accounted for, and a fluent reviewer approved the target copy. Check spelling, punctuation, line breaks, names, numbers, claims, product details, image dimensions, file identity, and destination mapping. Obtain the current file and content requirements from an official source relevant to your store and record when they were checked.
This checklist reduces operational mistakes. It does not certify that the file complies with a marketplace, law, or policy.
Upload and verify manually
After the media map shows approval, follow current official Shopify guidance and use the controls available to your store. Compare the selected product or page reference with the map, then check the filename and preview before saving.
Inspect the storefront after the change. Confirm that the correct language image appears for the intended product and market in the views your team can test. Check image order, crop, clarity, surrounding copy, and product details. If the wrong file appears, restore the prior approved asset through the normal manual process and correct the map before trying again.
Record the upload date, operator, destination, filename, reviewer, visible result, and rollback status. Repeat the process for another image only after the first one has been verified. A measured rollout is slower than bulk assignment, but it gives the team a clear chance to catch mapping and language errors before they spread across the catalog.
Related posts
Insights, updates and stories from our team